iPad Pro Publishing: From Ulysses to Jekyll with One Tap
- 4 minsWith iOS 11, the iPad Pro made a tremendous leap in capability. The hardware is fantastic, multi-tasking is no longer a bolted on step-child, and keyboard-driven workflows are becoming more common.
As I mainly use my iPad for writing-based workflows, it was pretty important for me to be able to efficiently write, and publish, from my iPad. My blog is based on Github Pages, so it’s backed by a git repo and uses the Jekyll static site framework. On a laptop that’s easy to setup, but isn’t quite as seamless on the iPad.
Thankfully, Workflow (and the excellent Working Copy) come to the rescue. From my writing app (Ulysses) I can publish with one button. Rather than describe the results, I’ll just post a video of me publishing this very post:

💥💥
I’ve published this workflow in the Workflow Gallery if you want to give it a try yourself. I’ve done my best to extract out all the Ryan-specific details but, let’s be honest, that’s a stink that you can never really escape.
Setup
Here are the basic steps to get this workflow installed on your iPad. This assumes you have an existing Github Pages site already setup in Github using Jekyll, and Workflow installed on your iPad.
Working Copy
Install the git client Working Copy on your iPad and be sure to enable URL callbacks from the application settings (in the app).

Write down/copy the URL key, which you will need when setting up the workflow.
Also be sure to clone the Github Repo of your blog (e.g., yourname.github.io) in Working Copy so you have the source on your iPad.
Workflow
Download my “Publish to Jekyll” workflow from the gallery. It will ask you a few questions to configure the integration, in this order…
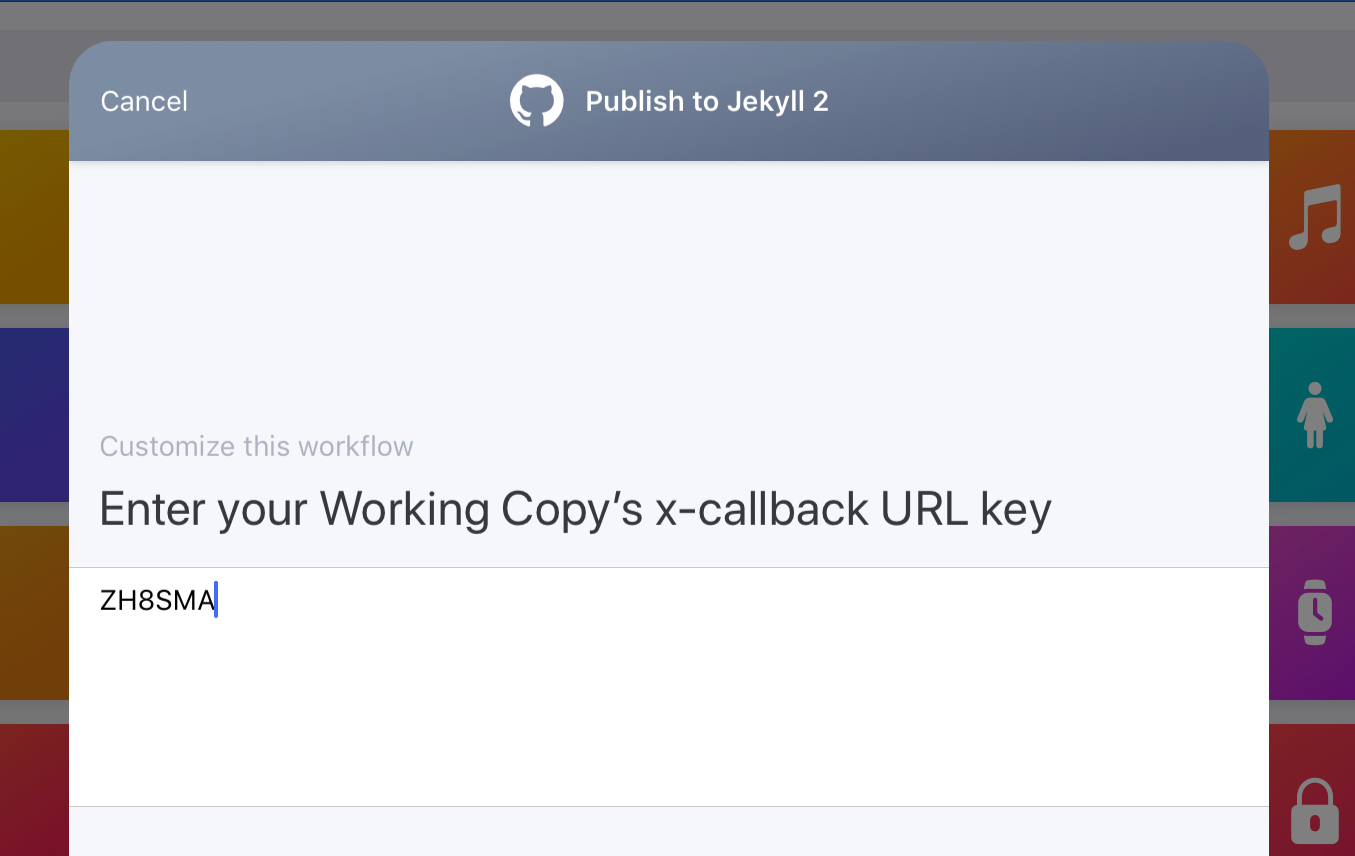
First is your Working Copy x-callback URL key (see above for getting that):

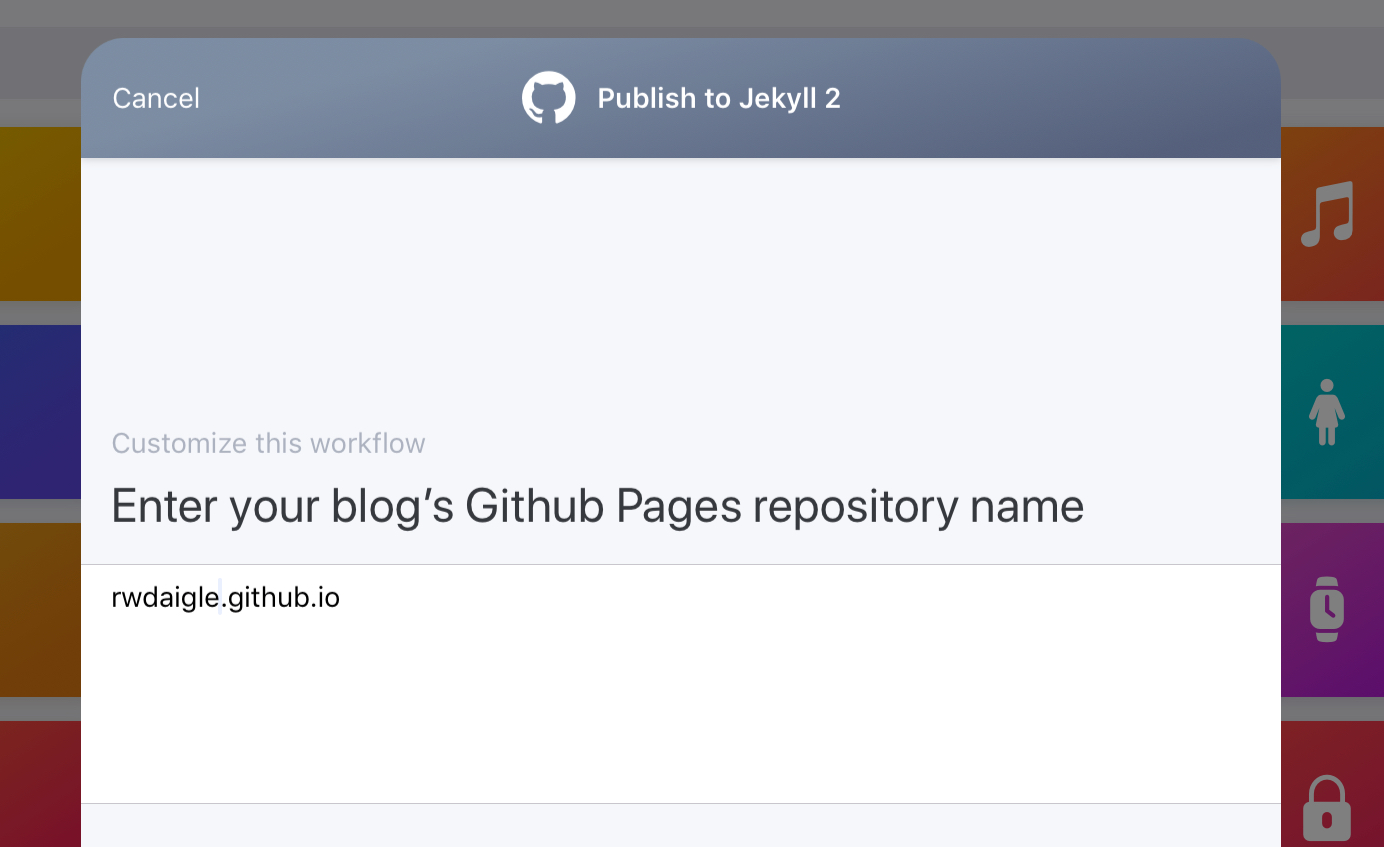
Next is the name of your blog’s github repo:

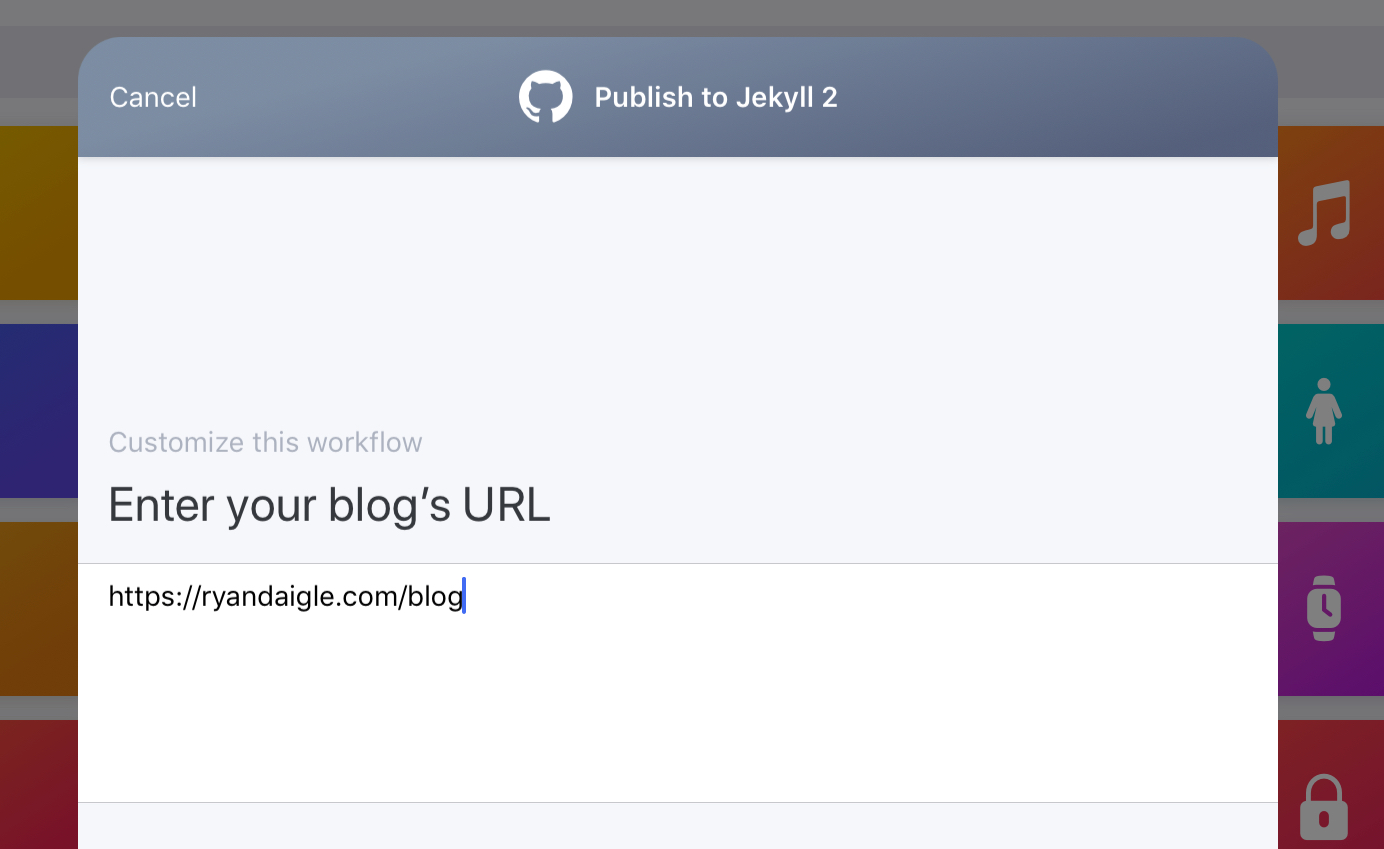
Next is the URL to your blog’s site. If you have any extra path info to get to your blog posts, be sure to include it (but not the trailing /):

Finally, it will ask you for the author name you use when publishing your posts (this gets added to the “front matter” for each post in Jekyll):

Once the workflow is downloaded and configured, it will appear in the share extension for any text document.
Publishing
I use Ulysses for all my long-form writing, and it’s a great place to publish from. Once you have an article you’re ready to publish, you can invoke the workflow right from the action button. The only nuance is you have to be sure you’re in Text/Markdown preview mode (vs. just sharing from the standard writing view). Here’s what that looks like:

Once you’re viewing the text form of your article in Ulysses, you can trigger the “Publish to Jekyll” workflow and you’ll be off to the races!

The only thing the workflow will ask for during publishing is a list of tags for your post (used by my Jekyll setup - yours may not). Enter a comma-delimited list of tags if you use them, or leave the field blank if you don’t (or just remove that step from the workflow if you’re comfortable doing so).
If successful, the workflow should complete and open your new post URL (which might not be live yet since it takes Github anywhere from a few seconds to minutes to actually publish your post).
If it fails, the workflow will abort with (hopefully) an error message. Most of the time the error will have occurred in Working Copy (e.g., there’s a merge conflict, you don’t have the latest version on your iPad etc…).
Publishing on an iPad may never be as seamless as a laptop - but it’s pretty impressive what you can accomplish by chaining a few well-implemented apps together.
Happy publishing!
